Using Duotones for Added Depth
Does anyone remember duotones? For those not in the know it was a way for you to add a bit of tonal colour to a monochrome photo.
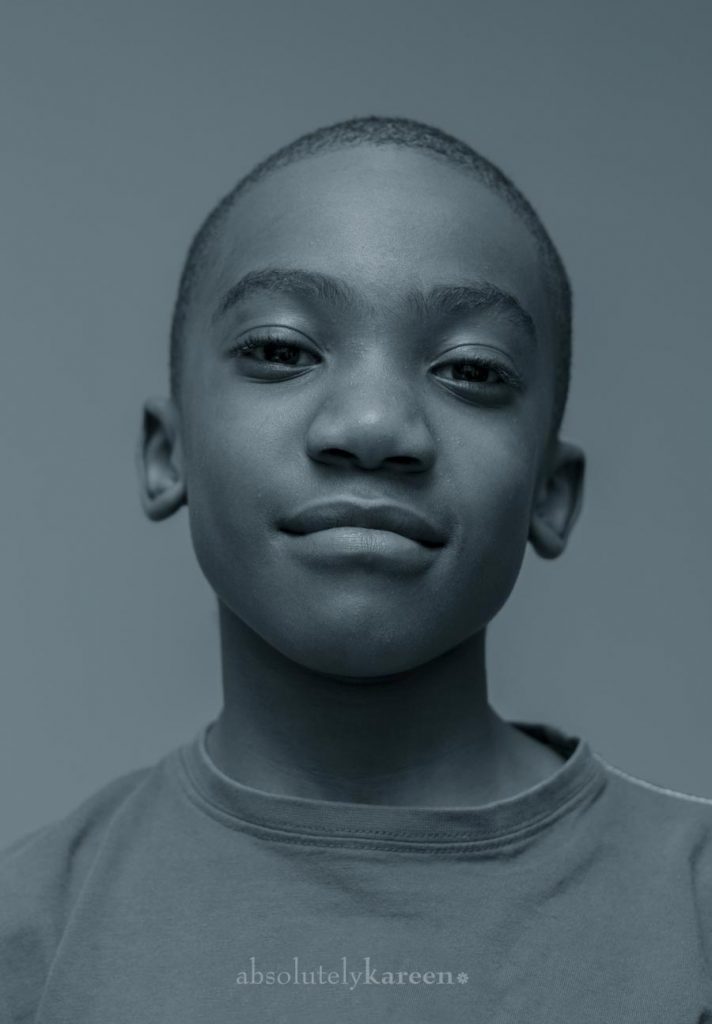
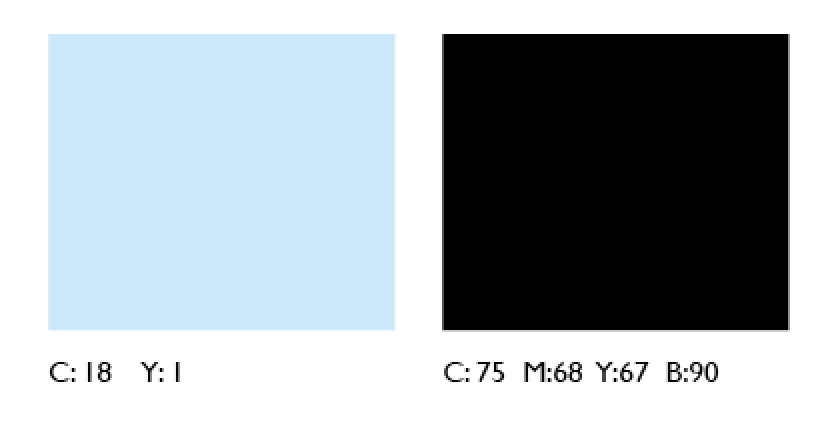
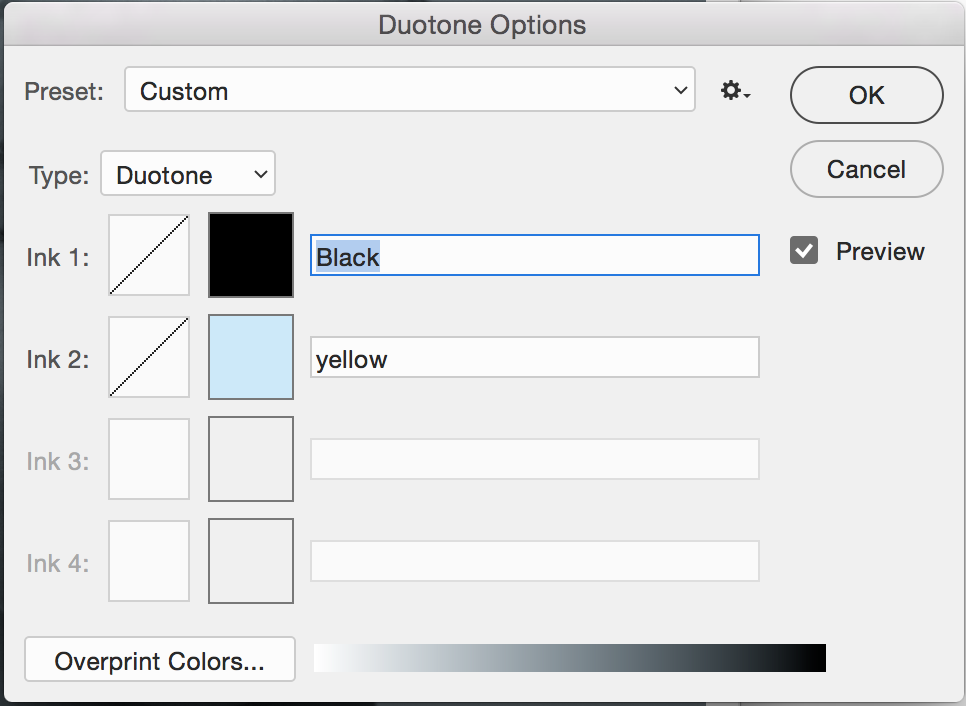
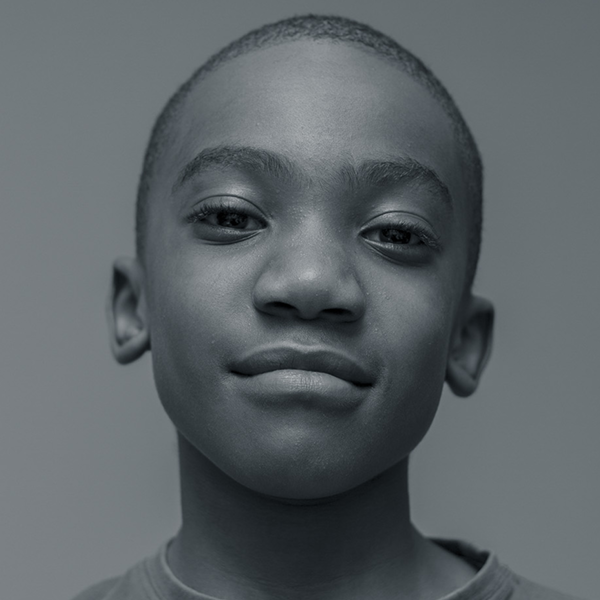
Let me go back in time a bit and I’ll try not to bore you. Before digital (4 colour) print was born, businesses had to print lithographically. Printers would split the job into four colours (cyan, magenta, yellow and black, aka cmyk) and then make printers plates. It was pricey. So in order to keep these costs down, us designers would design and print a job in two colours only. Generally (but not always ) it was black and another pantone colour which are special printers inks. It meant that we couldn’t use full colour images. So we’d convert the colour images to monotone and add another colour to it – aka a duotone. For example, black and Pantone 122 (yellow) would give you a sepia-type effect. But with the invention of digital colour print which is so much more affordable, duotones have all but become extinct. They’re still great to use if you want a special effect like a black and a silver or a flourescent orange. This image is a duotone made up of black and a light blue. I took the contrast way down to soften it. It’s a simple and effective way to give an image a different look other than just black and white or full colour.